HomeLab Side-Quest #2
Making a useful NAS with an old Pi Zero W and copyparty
Why work with a single core SBC?
Because I had a few of these sitting around!
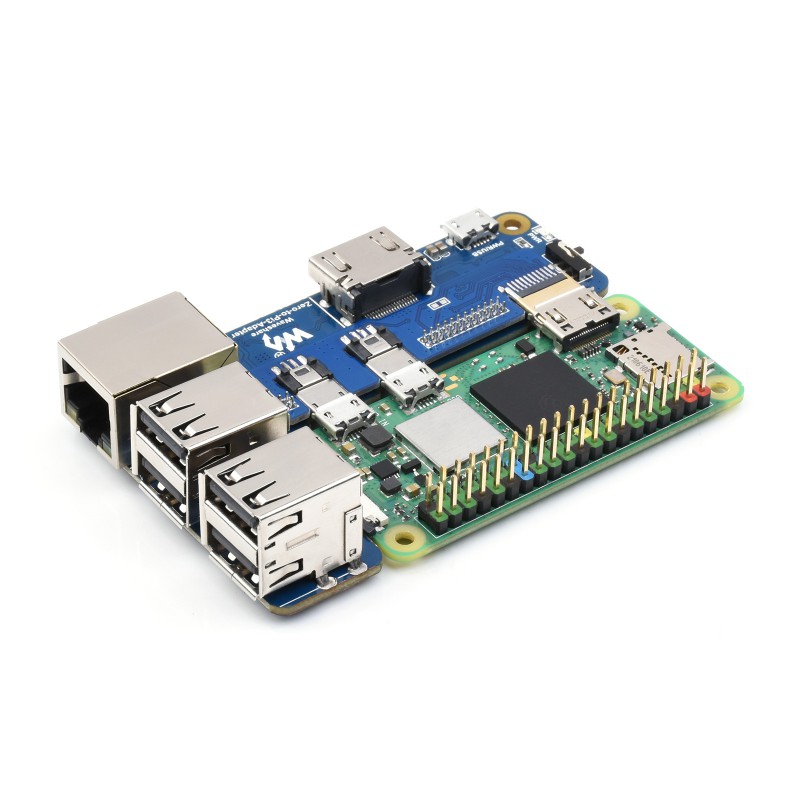
These Waveshare Raspberry Pi Zero To 3B Adapters were desirable in the period a few years ago when any Raspberry Pi was impossible to obtain. I had a few extra of these daughter boards, and an original Zero W, so let’s see if we can do something interesting with them.
Can Hackaday give me any ideas?
I read Hackday just about daily, and if something really interesting comes along I’ll add it to my Linkding bookmarks or my Foam journal as a quick ‘note to self’. (As an aside, both of these run very light and are self hosted as described in my main series.)
I saved this article in July: What Use Is An Original Raspberry Pi? by Jenny List. It was a very interesting, and based on a Jeff Geerling video. It was very funny seeing him boot modern Debian on a Pi from 2013, but obviously it wasn’t an experience you would want to have for yourself. I just couldn’t think of any service useful enough to add to the homelab, but light enough that it would be happy to use just one armv6 core at 1Ghz and half a GB of RAM.
Then about a month later Hackday had another article I found very interesting: Everyone’s Invited To The Copyparty by Tyler August. The article describes this as the opposite of the Unix design philosphy. Instead of doing one thing really well in a low level language, this developer crammed FTP, TFTP, a web front end, WebDAV, SMB, and a few other things into one big python script.
I don’t need it for all those things, but I have been wanting a SMB share lately. Somebody even got copyparty to run on a wii, so i thought ‘how hard could it be?’
Why would I want another file server?
I started distro-hopping on my personal laptop and after twice backing up my /home directory to /oldhome and /older_home I realized I was doing things the hard way. It would be really nice to have a small and fast NAS to put the few actually important things on before I wipe the drive.
Yes, I have a Nextcloud container running on the main gateway, and it’s feature rich but very slow. Right now I have the linuxserver.io image on my main home server, but it uses SQLite as it’s backend and that has some speed limitations that crept up surprisingly fast for a one-user instance. If you want your Nextcloud server to be all it can be, you should consider the official all-in-one image (that’s the project’s ‘official’ method suggested for self-hosters), or you could install the package provided by whatever distro you chose for OS of your server and choose a performant database for it.
All I really wanted was a reasonably quick local NAS that would not be exposed outside my LAN so I could back up downloads and a few other documents before trashing my laptop OS. Plus, OpenMediaVault has dropped support for armhf, so copyparty could be the only thing for this old machine.
Knowing your limitations
In my first article, I wrote about how I prefer DIetPi for my single board computers. It and the official Raspberry Pi OS are pretty much your only choices for a Raspberry Pi this old, and DietPi is much lighter.
I tried two approaches to add more storage for this little setup:
Merging disks to a large logical volume in DietPi
This survived for a few days, until I added more flash drives, thinking I would add to the volume group. The increased power demand lead to a gray out, and the LLVM was trashed without hope of recovery. No files were kept on this drive though, thank goodness.Using a RAID system with DietPi
This approach was even worse! Everyone on the Raspberry Pi subreddit will warn you not to use any old USB disk as a boot drive or a 24/7 RAID. This article linked for DietPi repeats the warning, that hard use will quickly wear out a consumer grade disk’s lifetime write cycles.
Even though I didn’t care about the long term health of these four old flash drives building the RAID 1 would have taken 8 hours! When the power grayed out again, the background process for rebuilding recovery was stressful enough to repeatedly cause the power failure. In a few minutes, this abusive boot cycle trashed the DietPi install on the SD card too.
So considering these limitations, I added just one extra SD card in a cheap USB2.0 reader. It’s least power consuming, and separates storage from OS for the best recover-ability you can expect.
The usual problem you face with large file transfers on a Rasbperry Pi is that the onboard Ethernet is usually 100Mb and shares a bus the the USB ports, and the onboard Wi-Fi is limited by it’s SDIO bus. Even if you had a lot of storage attached to a Pi, good luck getting things onto or off of it quickly in your homelab. Unless you have a Pi 5 with it’s dedicated PCIe lane for an SSD, you’re going to be waiting.
The bottleneck for this ‘server’ isn’t the network speed or the USB bus, its the limited power. This is a just a silly educational project to see how much an old armhf board can do, so lets continue to test copyparty.
Installing and configuring copyparty.
copyparty quickstart installs recommends installing with pypi. So after I installed python and pip through dietpi-software, I just needed sudo apt-get install python3.11-venv, and inside the venv we can install copyparty and it’s needs.
These are the bare minimum:
copyparty
Jinja2
MarkupSafe
And if you want thumbnail support you can install the packages listed in the official readme:apt install --no-install-recommends python3-pil ffmpeg
These aren’t strictly needed, plus I’m positive adding ffmpeg to the mix would slow down the ingestion of new files, so I decided against it. I did however add pip install mutagen to read file tags.
Once you’re ready to run copyparty, everything you you would want to configure can be a command line argument or part of a configuration file. It quickly becomes quite a few arguments, so the semi-YAML configuration file is a must. I can’t provide my whole configuration file because usernames and passwords are plain text entries but here’s the basic shape:
[global]
  p: 3923  # listen on just port 3939
  e2dsa  # enable file indexing and filesystem scanning
  e2ts   # and enable multimedia indexing
  #z, qr  # turn off zeroconf and qr code
  e2t
  usernames
  name: zeroNAS
  no-bauth
  no-robots
  no-dav
  xdev

# create users:
...

# create volumes:
[/]         # create a volume at "/" (the webroot)
  #.         # do not share the current directory
  /mnt/raid-storage/  # move webroot to the desired mount point
  accs:
    #r: *    # dont allow just anyone to read root!
    rwmd: user  # the user gets read / write / modify / delete
The only gotcha in this that isn’t simply a personal preference is that I had to turn off the zeroconf features. I’m sure they are convenient in some environments, but my gateway server has very aggressive fail2ban policies and it’s constant LAN announcements were getting my little NAS banned.
If you want to host SMB from copyparty, you need impacket installed and unfortunately, this build failed for armhf. I did no investigations of this, since samba is easy to install with dietpi-software, and the point of this little experiment was to see which of these two approaches I liked better given the resource constraints.
Using copyparty and Samba in the homelab
Before I trashed the first version of this file server by adding too many disks, I was happily using copyparty for large transfers. It’s resume flag was turned on so it was happy to break files up into resume-able chunks and survived for hours on end.
Trying to use Samba just installed through dietpi-software would crash if you tried to move a large file like a Linux ISO. So early indications were, copyparty was an improvement for this scrappy little Zero W.
For my use case of copying files up and down quickly as I distro-hop on my laptop, copyparty is more than sufficient, and surprisingly fast.
Final conclusion
This was an interesting exploration of what the oldest Raspberry Pi can do, but I wouldn’t recommend it to anyone for serious usage. When I next look at this, I’ll just install copyparty on another server that does more useful work, and put this older board back in a drawer.